- Start page
- NEWly buily paintcan furnace June 2020
- Newly buily barrel furnace June 2018
- Videos from several experiments
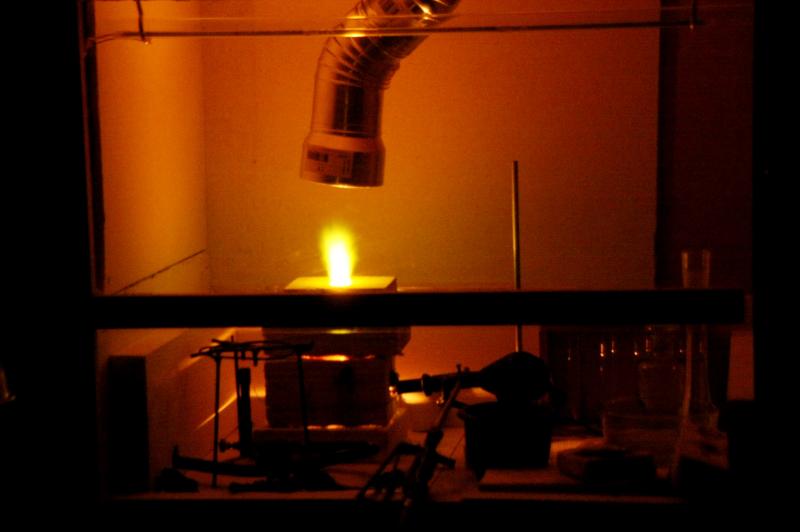
- Home made fume hood
- Alloying nickel silver
- Making sphecical domes of silver
- Making a flat ring of silver
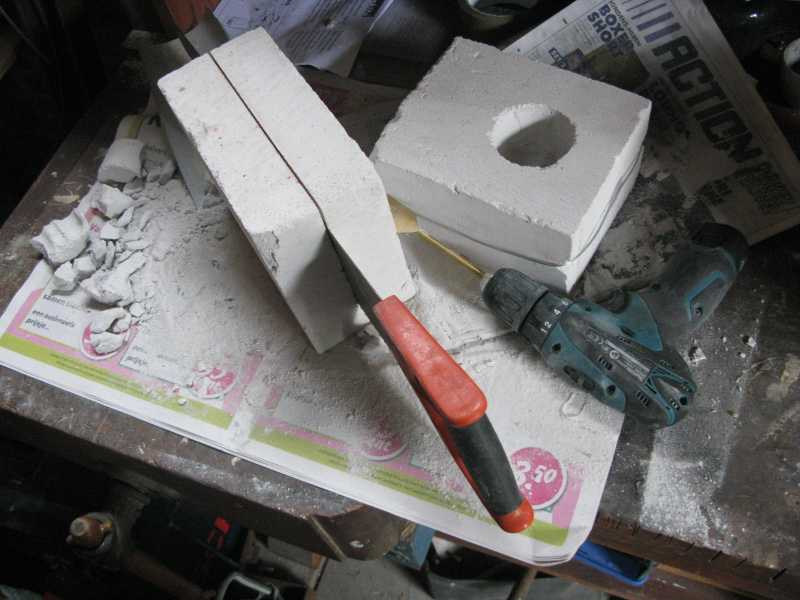
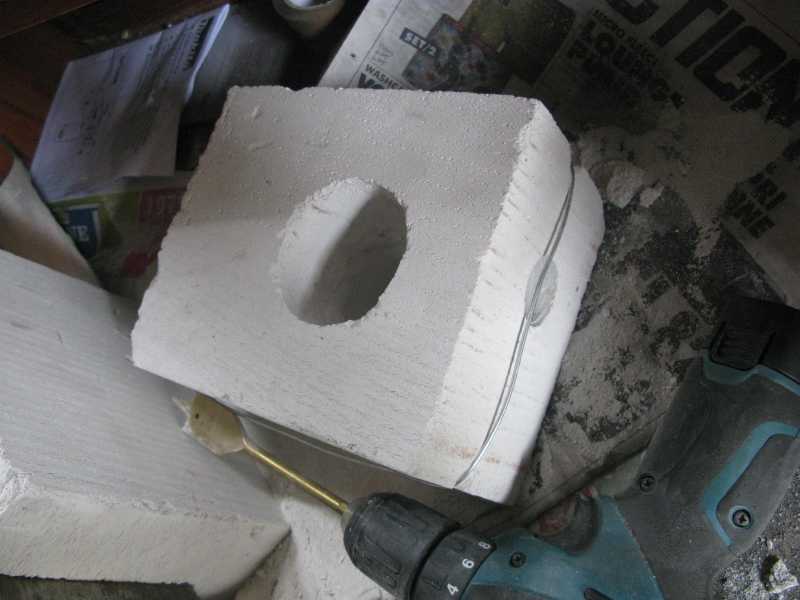
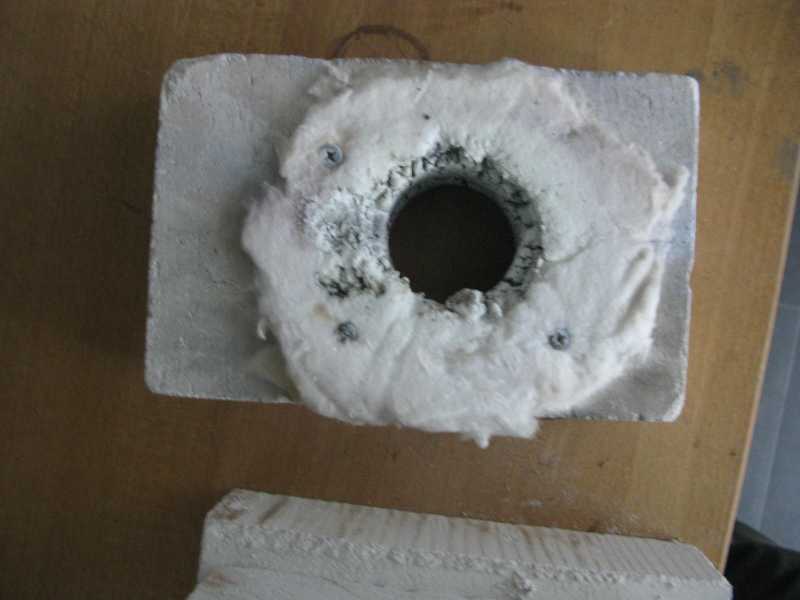
Furnace built from cheap YTONG bricks and Homemade BurnersYtong bricks are used for indoor walls in construction of buildings because of there excellent insulating quality. It is actually Aerated autoclaved concrete which consists mainly of calcium silicate which is formed in the autoclaving process during manufacture from silica and Ca(OH)2. During earlier experiments in which I thought these bricks are nearly pure CaSO4, I experienced its very good insulating capacity, so I built furnaces from this for melting metals. The material is very cheap ($3 for a 20x60x10cm block) and readily available at construction supply shops even those which cater to individuals.
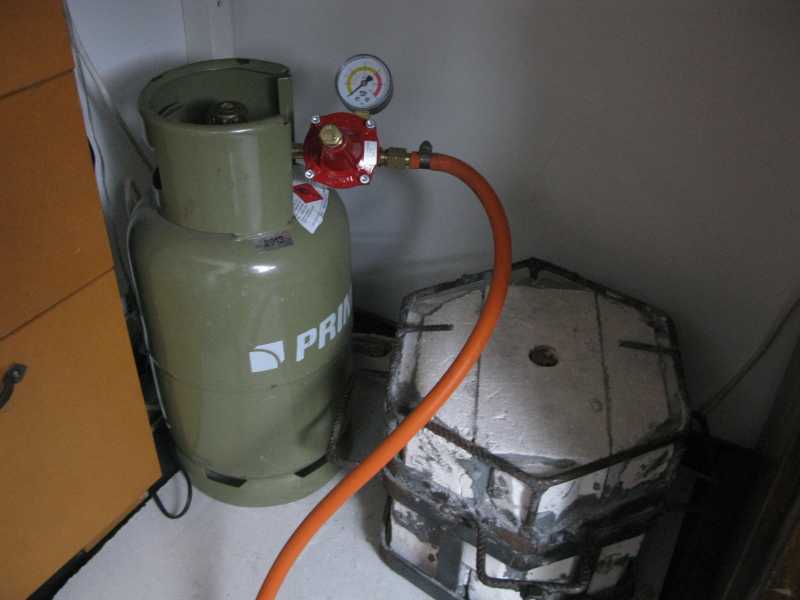
As a fuel I use propane which is also easily to obtain at hardware shops here in the Netherlands in 5 and 12 kg tanks. You need a decent burner and a pressure regulator (not the 50mbar fixed low pressure heater or stove grade reducers) which reduces to at least 1 bar. Those are available at hardware or gas supply shops which are dealers of propane companies like Shell or Primagaz. The tanks should be purchased once and every next time you trade the empty tank for a full one and pay for the refill usually $20-$30 for a 12kg tank. | ||||||||||||
SAFETY issues As you work with flammable propane gas and hot parts you must be aware of the risk of fire and burns !
| ||||||||||||
The benefits of this 'refractory' are (using a small furnace with a 50ml crucible with copper of cast iron):
|
||||||||||||
|
| ||||||||||||
| ||||||||||||
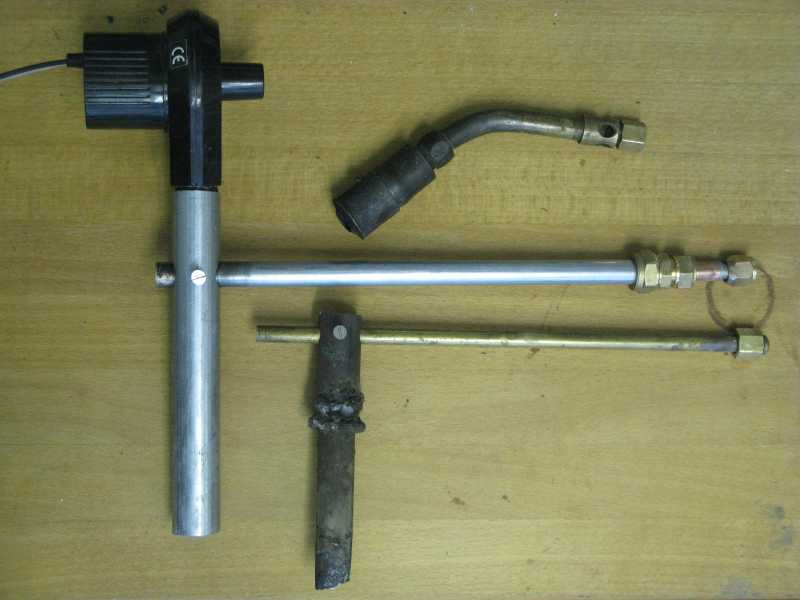
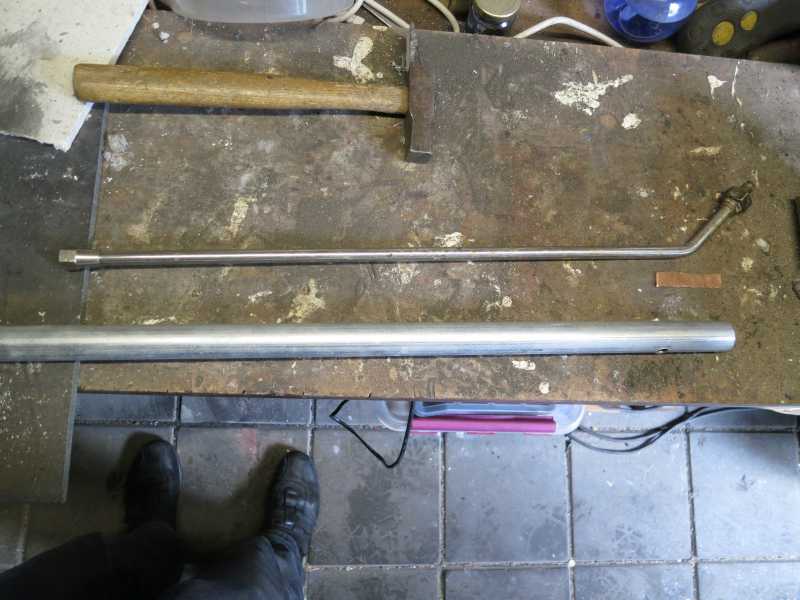
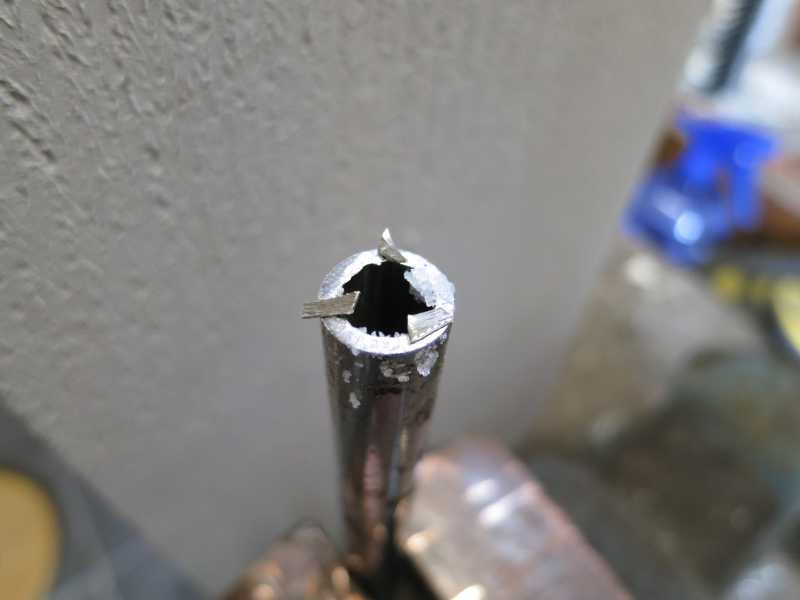
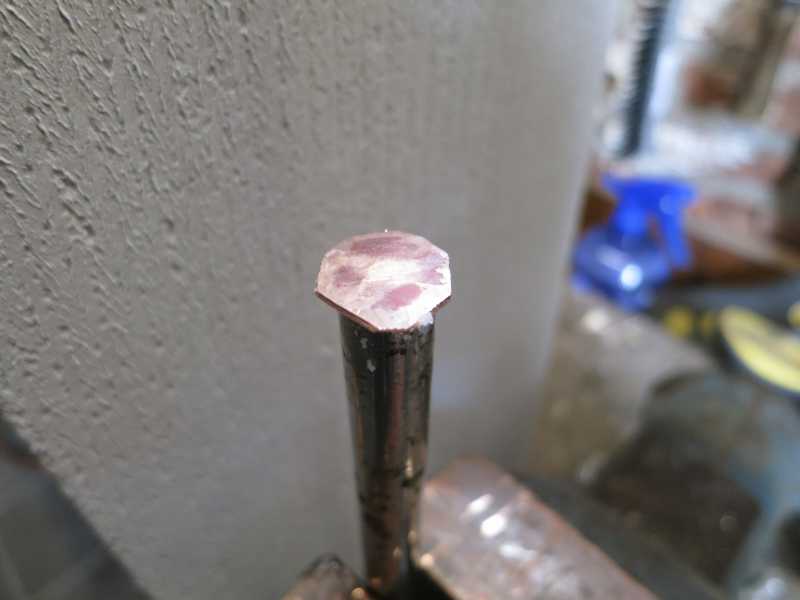
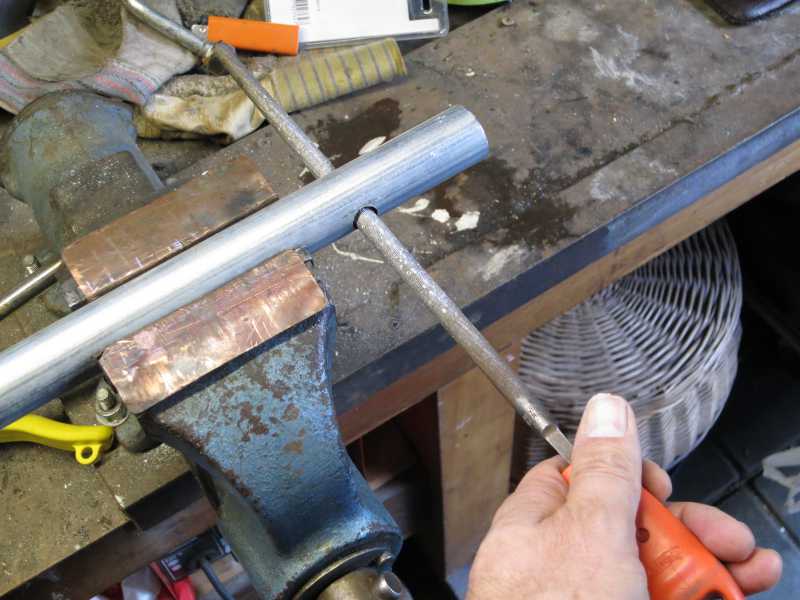
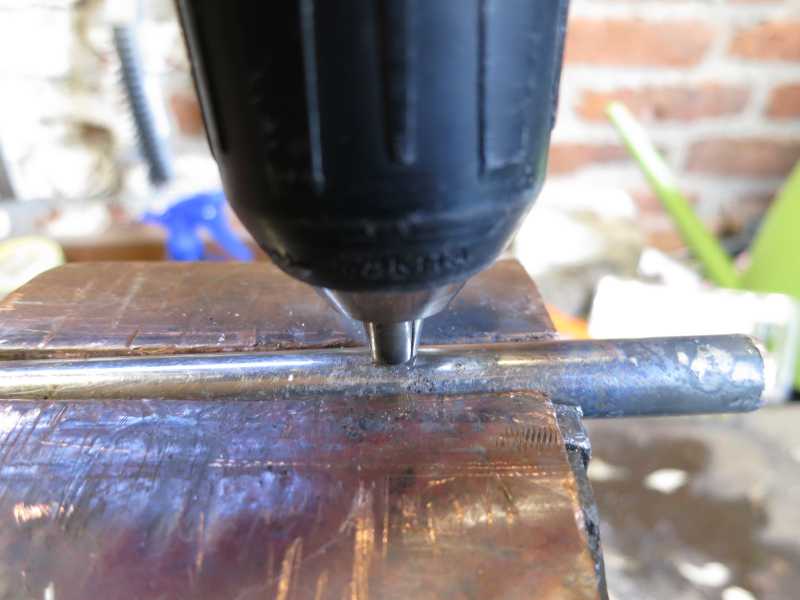
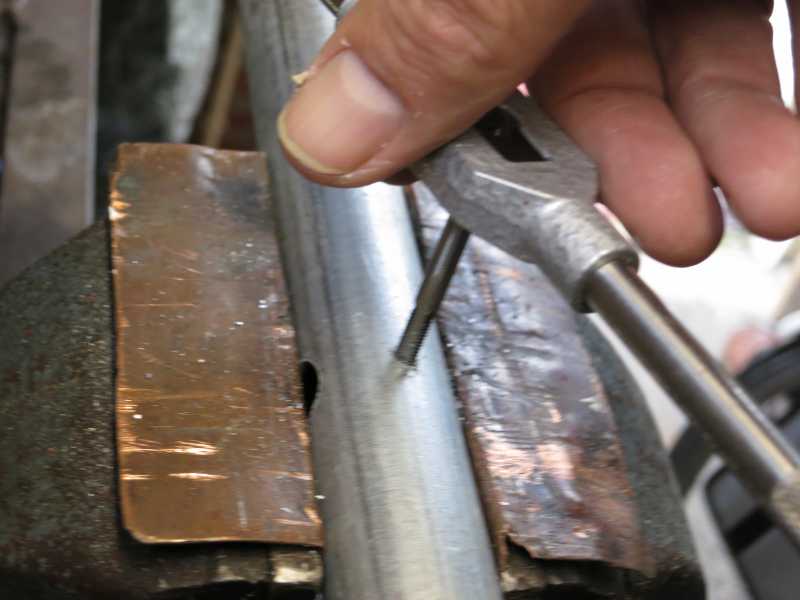
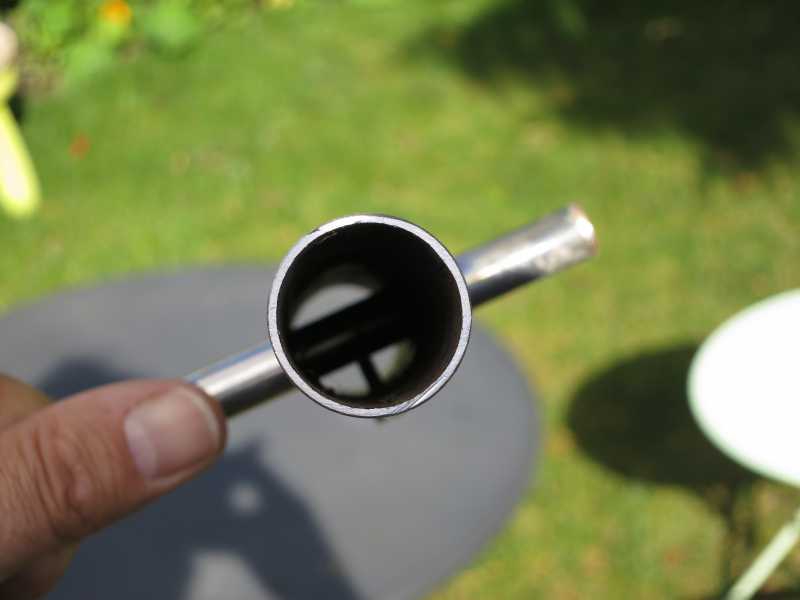
BurnerSuch a burner can be made yourself with easy obtainable parts as long you can do some hard soldering. Hard solder for brass / copper is readily available at the local hardware shop. Building such a burner requires just basic tools. What you need: For optimization I made a burner from steel tubing where I used 25mm I.D. (28mm OD) for the burner nozzle. The picture below shows the nozzle pipe made from the 25mm steel tube. It is just made from central heating galvanized steel tubing. For the gas inlet a 15mm (OD) heating steel tube is used of which the end is soldered with a small disk op copper to close it. There is a small orifice (1mm diameter) in it to allow the gas flow into the nozzle.
Do this test outdoors or in a well ventilated room ! Have a leak detection spray ready and apply it to all solder seams and screw threads. Connect the soldered steel tube on the handpiece, put your finger on the small hole and open the gas valves. No hissing or sizzling noise should be heard, no gas smell and no bubbles should appear. Apply even more leak spray. When this is leak-free, this part is ready for use. The nozzle tube can be made by making two holes in it at about 5 and 10 cm from one (the air inlet) end of 4 mm and then tapping an M5 thread into it. If you use the burner without forced air, you have to drill air inlet holes of 10mm (about 4, each 90° apart) in the nozzle tube. You can make a slider by sawing off a 2cm long piece of the 25mm tube and sawing it through lengthwise and then bend outward in such a way that it just fits over the nozzle tube. This leaves an opeing of about 1cm but when closing the air inlet completely you can move it in such a way that it does not fit over a hole. Better is using a piece of slightly larger diameter pipe which just slides over the nozzle tube. | ||||||||||||
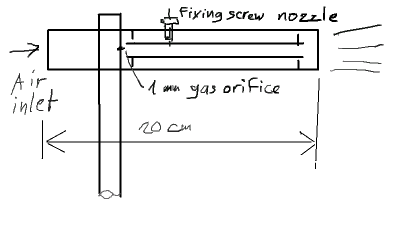 Schematic view of the burner
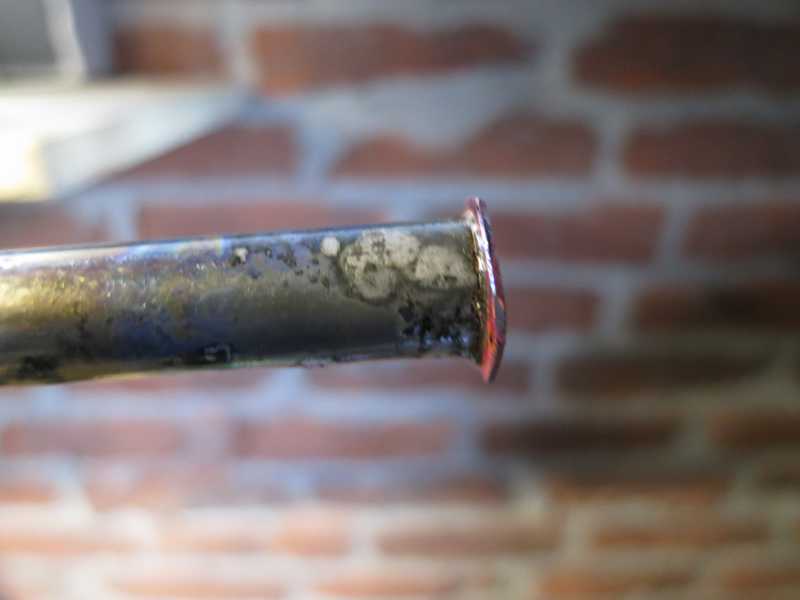
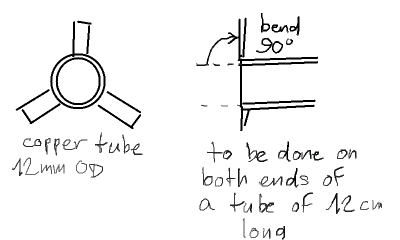 Detail of the copper tube to prevent flashback
|
||||||||||||
| The reason for the anti-flashback tube is to prevent that the flame 'strikes back' into the tube which results that most heat is generated inside the nozzle tube which gets red or orange hot. As a result the furnace gets far less heat. With screw (4) in the first picture, this tube can be moved axially. | ||||||||||||
|
||||||||||||
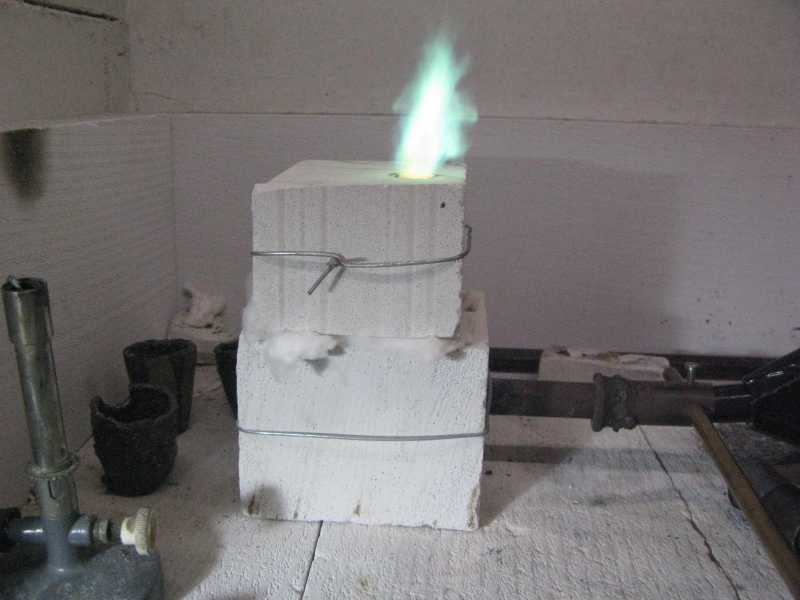
Update 2014 Sep 6/7 Natural gas burner testI realized that it should be possible to use natural gas for this small furnace to melt metals. To test this I made a new tube with a larger hole in it as the natural gas pressure is only 30mbar compared to 500mbar to 1 bar with propane. I drilled a hole of 2mm diameter rather than 0.7mm in the 10mm brass tube and used the same flare nozzle.I used the same furnace, and succeeded to melt about 100g of copper in a few minutes. I checked the gas meter and counted about 0.2 liters per second which equals to a power of about 6kW. Then I did a test with another small furnace made years ago from alumina bricks rated to 1700ºC, as YTONG cannot withstand temperatures higher than 1350ºC. I already tested this on high temperatures with propane and reached 1500ºC after 10 minutes. But now I tested this again with the new natural gas burner and the result was amazing: the same time 10 minutes to reach 1500ºC and finally 1550ºC after 15 minutes. To check the integrity of the type 'S' thermocouple, I was able to melt iron wire (it was binding wire made of 'soft' virtually pure iron, not steel which melts at 1539ºC). Of course a crucible with metal in it will take longer probably 15 minutes. In this test the furnace was empty. Gas consumption was about 0.2l / sec according to the gas meter which equals to a power of about 5-6kW. |
||||||||||||
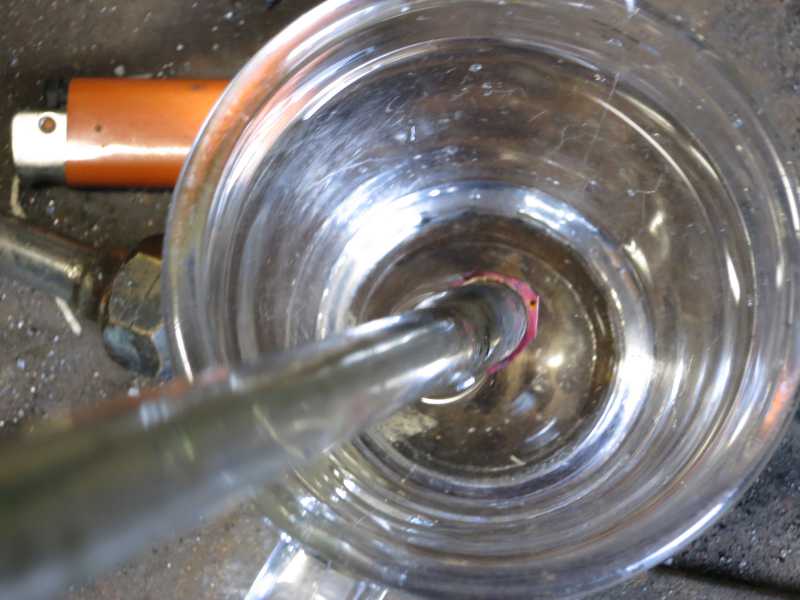
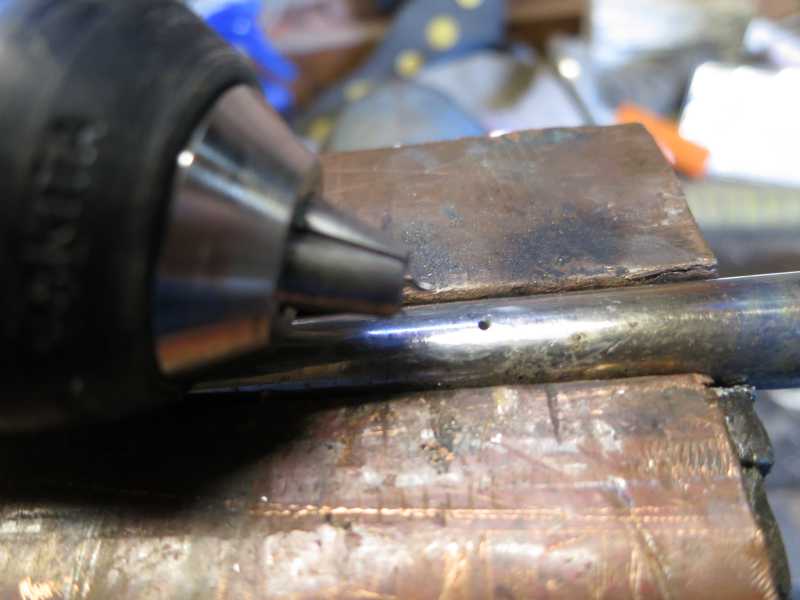
Update 2012 Sep 29 Newly made burner with a testI made a new version of this burner using an old roofmaker's 'roaring' burner with a 45° angled end. I cut off the angled end and soldered a copper cap onto it with hard solder. After soldering I blowed strongly into the tube while the solder seam is in a glass of water to check the soldering is gas tight.Then I drilled a 0.75mm hole in it which is the orifice for the gas output. This is a tedious job as the drill bit should be put very deeply into the chuck and only 3mm left outside. During drilling no pressure should be applied on the machine as otherwise these very fragile bits break. I drilled holes in the nozzle tube and filed it to 12mm (the diameter of the long old burner tube) with a rattail file. On top I tapped an M4 thread to secure the nozzle tube to the inner tube. Finally I put the flashback arrester made from copper tube into the nozzle as described above. |
||||||||||||
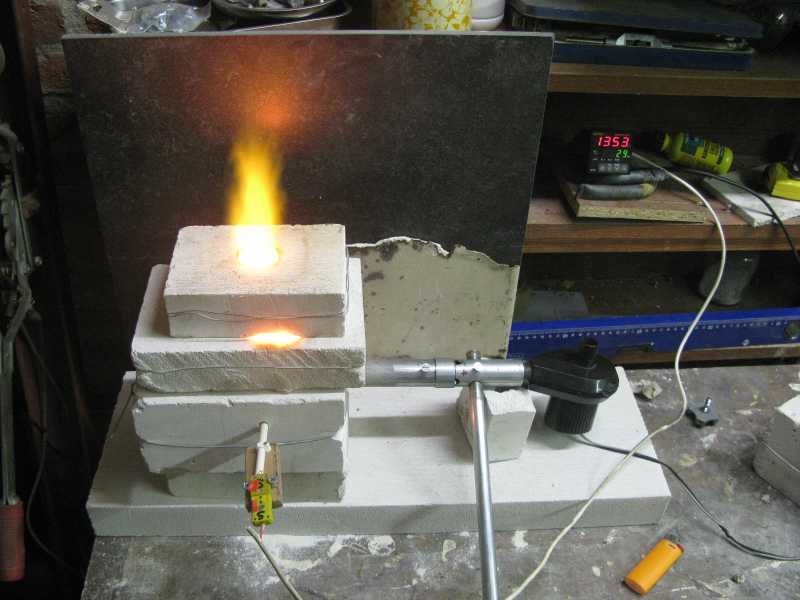
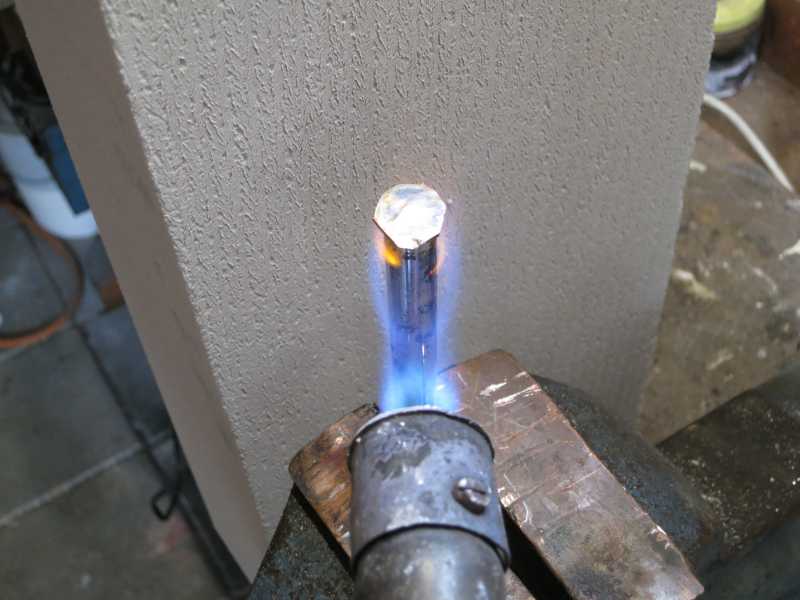
Burner test 2012 Sep 29 Testing newly built propane burner Testing newly built propane burner
Natural gas heating furnace to 1500ºC 2014 Sep 7 Testing natural gas burner heating a furnace to 1500ºC
|
||||||||||||
Pictures of making the burner
|
||||||||||||

Powered, developed under Linux  and Mac
  and hosted under Linux.
This site is best viewed with Firefox, Safari, Chrome and Opera. Using landscape mode on a smartphone gives a better view.